Grilling imparts a unique smoky flavor that’s hard to match with other cooking methods. The high heat of a grill locks in moisture, enhancing the benefits of marinades and rubs and providing that oh-so-delicious sear. From meats and seafood to pizza, flatbreads, vegetables, and even fruit, almost anything can be grilled, and the simplest recipes often yield the best results. However, the secret to a killer cookout starts with a deep grill cleaning.
A dirty grill can pose health and safety risks and affect the taste of your food. The good news is that regular cleaning after each use can prevent the need for more labor-intensive deep cleanings, and it doesn’t have to require a lot of time or effort. This guide shares tips for maintaining your grill between pro cleanings, so you can sail through this year’s cookout season with confidence.
Grill Cleaning Tools and Supplies You’ll Need
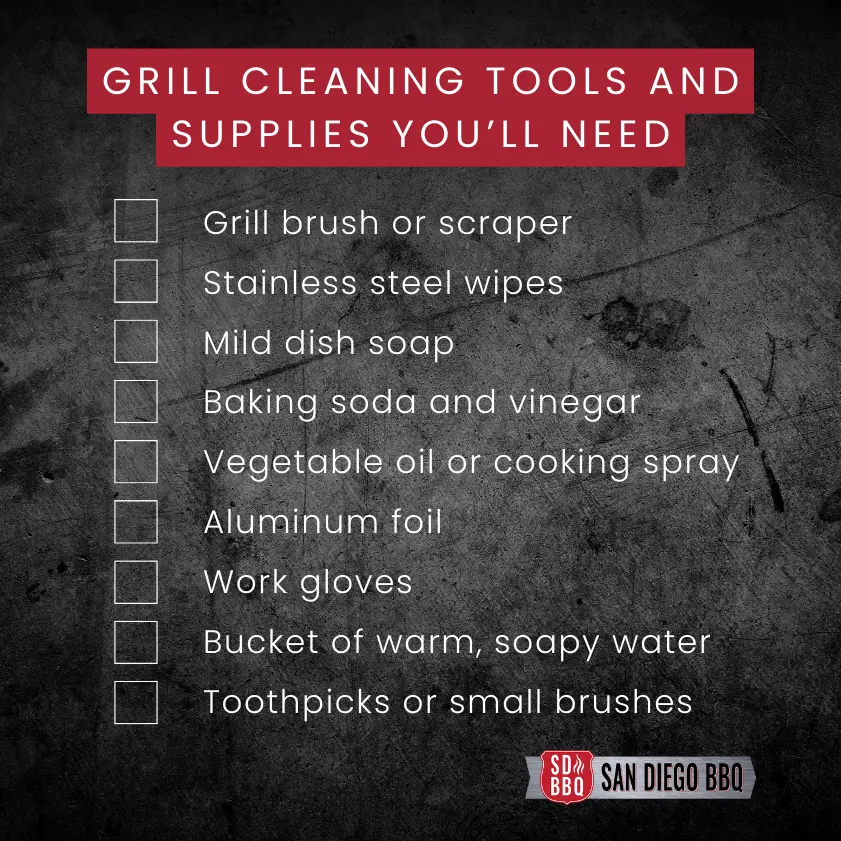
Before you start, gather the necessary tools and supplies. Having everything ready will make the process smoother and more efficient. You will need:
- Grill brush or scraper
- Stainless steel wipes or a soft cloth
- Mild dish soap
- Baking soda and vinegar
- Vegetable oil or cooking spray
- Aluminum foil
- Gloves
- Bucket of warm, soapy water
- Toothpicks or small brushes for detail cleaning
Preheat Grill for Easier Cleaning
When you’re ready to start cleaning, preheat your grill on high for about 10 minutes. This will burn off some of the food residue and help prepare the grill for cooking. After the grill has been preheated, use a grill brush to scrub the grates. (A brush with stainless steel bristles works best here, as it effectively removes stuck-on food and grease.) Scrub in a back-and-forth motion, applying firm pressure to dislodge any stubborn residue.
Pro Tip: Avoid preheating for longer than 10 minutes. Otherwise you risk causing unnecessary stress on the grill’s components, potentially shortening its lifespan. Ten minutes ensures the grill is hot enough to loosen debris but not so hot that it causes wear and tear on the parts.

Once the initial scrubbing is done and the grill has cooled down, it’s time to remove the grates for a deeper clean. Place them in a bucket of warm, soapy water and let them soak for about 30 minutes. This soaking period allows the soap to break down any stuck grease and food particles.
After soaking, use a scouring pad or grill brush to tackle the grates again. This step helps to remove any remaining stubborn residue that wasn’t dislodged during the initial scrubbing. For particularly tough spots, make a paste of baking soda and water, apply it to the affected areas, and let it sit for about 10 minutes before scrubbing. The baking soda acts as a mild abrasive, helping to lift off tough grease and grime.
After the grates are thoroughly cleaned, rinse them with water to remove any soap or baking soda residue and dry them with a cloth to prevent rust. Proper drying is important because any leftover moisture can lead to rusting.
Clean the Grill Interior
The interior of your grill also needs regular attention between professional tune-ups. After removing the grates, scrape off any debris from the burner protectors, burners, and the bottom of the grill using a grill scraper. This step helps remove larger pieces of food and grease that have accumulated over time.
Next, soak the burner protectors and other removable parts in warm, soapy water. This helps to break down the grease and food residue. After soaking for about 30 minutes, scrub these parts thoroughly with a scouring pad or grill brush to remove any remaining dirt and grime. Rinse well with water to ensure all soap is removed, then dry them completely to prevent rust.
Pro Tip: Check for clogs in the burners by inspecting the burner holes. Use a toothpick or a small brush to clean out any debris that might be blocking the holes. Clogged burners can lead to uneven heating and inefficient cooking, so it’s important to keep them clear.
After the removable parts are cleaned, wipe the interior surfaces of the grill down with a cloth soaked in warm, soapy water. For tough spots, use a mixture of vinegar and water: vinegar is a natural cleaner that can help break down grease and grime without the need for harsh chemicals. Let it sit for a few minutes, then scrub it with a scouring pad and rinse thoroughly.
Finally, dry the interior surfaces with a cloth to prevent rust. Proper drying is essential because any leftover moisture can lead to rusting, which can deteriorate the quality of your grill over time.
Keep the Exterior Looking Great Too!
Keeping the exterior clean is equally important. Wipe the lid and exterior components with a soft cloth and warm, soapy water, avoiding abrasive cleaners that can damage the finish. For stainless steel grills, use stainless steel wipes or a cloth with a small amount of vinegar to prevent streaks and keep it shiny.
Pro Tip: When done, apply a thin layer of vegetable oil or cooking spray to the exterior to protect against rust.

Additional Self-Care Tips Between Pro Cleanings
Regular maintenance is key to keeping your grill in top shape. Here are some tips to supplement the above strategies:
- Check the gas lines and connections for leaks by applying a solution of soapy water. If bubbles appear, tighten the connections or replace faulty parts.
- Every few months, give your grill a deeper clean by using a scrubbing stone, like a pumice stone, to gently scrub the cooking surface and remove the build-up that a regular brush might miss.
- Clean the briquette trays (if your grill has them) by flipping them upside down and letting them burn on high for 10-15 minutes to clear any clogged pores, promoting even heat distribution.
- Always cover your grill when not in use to protect it from the elements. A weather-resistant cover is best.
- If possible, store your grill indoors during the winter months, making sure the propane tank is disconnected and stored outside. If storing outside, choose a sheltered area and cover the grill securely.
Keep Your Grill in Top Shape with San Diego BBQ
A well-maintained grill not only cooks better but also adds to the joy of outdoor cooking. While the tips in this guide can help you keep your grill at peak performance during cookout season, it’s important to schedule a yearly inspection, cleaning, and tune-up from a professional BBQ cleaning company.
At San Diego BBQ, our experts can handle the deep cleaning needed to keep your grill running smoothly. Get ready for smoother operation, tastier meals, and a longer working life for your grill. For more information or to schedule a free estimate, call (858) 605-5777.


