At San Diego BBQ, we believe that grilling is more than another way to dish up a meal; it’s an actual experience. From family dinners to lively gatherings with friends, the perfect grill turns your backyard into a space for delicious memories. This is why we pair exceptional grills with expert BBQ grill replacements to turn your backyard into the ultimate cookout zone.
Recently, we replaced an aging grill setup with a stunning Blaze Professional grill. Here’s a detailed look at the process involved, including how we knew the old grill was due for replacement and how we made the transformation happen.
Step 1: Assessing and Removing the Old Grill
For this particular job, our first task was to carefully remove the old grill. This step isn’t as simple as unhooking a few bolts: it requires a focus on safety and efficiency.
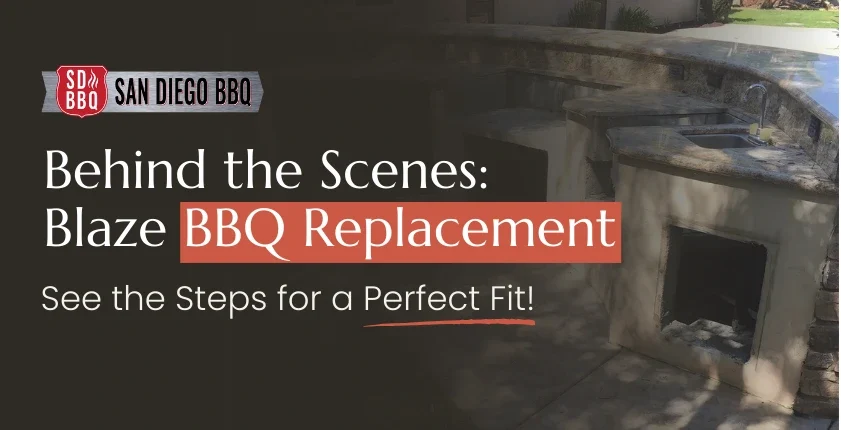
First, we disconnected the gas line to make sure there were no leaks or hazards. Then we removed the old decor surrounding the grill and revealed the existing structure underneath, which would need adjustments to accommodate the new setup.

Removing the old grill also gave us the opportunity to assess the space for any potential challenges. Were there structural issues? Would adjustments to the cutout dimensions be needed? Taking time at this stage helps us avoid surprises down the line and ensures the final result is ideal.
Step 2: Customizing the Space for a Seamless Fit

One of the biggest challenges with grill replacements is ensuring a perfect fit, especially when retrofitting a new model into an older space. This is why we turned our attention to prepping the area for the new Blaze Professional grill once the old one was out.
The cantilever (the overhanging structure where the grill would rest) needed precise modifications to make this happen. To prepare, we taped off the trim and carefully notched either side of the cantilever, so that the trim kit could slide all the way back to the wall for a clean, flush appearance.
The trim kit plays an important role in the overall design. By lifting the grill about two inches, it provides important clearance from the solid concrete base below. It also adjusts the interior width and depth of the cutout dimensions, which gives the grill a snug fit. The result? A seamless integration that looks like it was built into the space from day one.
Step 3: Installing the Blaze Professional Grill
With the space prepped and the trim kit in place, it was time to install the star of the show: the Blaze Professional grill. This premium model is a favorite among grilling enthusiasts for its high-performance features and sleek design.

Carefully lowering the grill into the trim kit, we aligned it to ensure every edge was flush and level. This stage demands extreme attention to detail. Even a slight misalignment can lead to issues, such as uneven heat distribution or an unattractive final look.
When everything was in place, the Blaze grill looked incredible. There were no gaps, the trim kit provided the perfect frame, and the grill was securely elevated to ensure proper clearance. The fit was seamless, and the overall setup was top-notch.
Step 4: Polishing and Adding the Finishing Touches
An installation isn’t complete without the finishing touches. After securing the grill, we polished every surface to make it shine and remove any marks or debris from the installation stage. By the time we finished, the Blaze Professional grill was ready to go. The transformation was complete, and the entire setup looked modern, polished, and ready to impress.
Step 5: Educating the Customer
For this job, we walked the customer through the features of their new Blaze Professional grill, showing them how to operate the controls, adjust the heat, and maintain their grill for long-lasting performance. From basic functions to advanced tips, we covered it all. This hands-on guidance ensures every customer feels confident using their new grill from day one.
How Do You Know When It’s Time to Replace Your Grill?
Not sure if it’s time for an upgrade? Here are some clear signs that your current grill has reached the end of its working life:
- Rust or Corrosion: If the body, grates, or burners are rusted, cooking becomes unsafe and inefficient. Rust can also compromise the structural integrity of your BBQ, making a replacement necessary.
- Uneven Heating: Struggling with hot and cold spots on the grill? Worn-out burners or improper heat distribution are common culprits, and they often indicate it’s time to move on.
- Gas Leaks: A gas leak is a serious safety hazard. If you notice the smell of gas or hear hissing sounds near the connection points, don’t risk it: just replace the grill.
- Structural Damage: Cracked components, broken hinges, or wobbly legs? These issues aren’t just inconvenient; they can also be dangerous.
- Outdated Features: Modern grills offer precision controls, better energy efficiency, and premium materials. If your grill feels outdated, upgrading to a model like the Blaze Professional can improve your cooking experience dramatically.
Replacing your grill not only improves safety and performance but also upgrades the look of your outdoor kitchen. Don’t wait for a breakdown: upgrade before problems arise.
Your Backyard, Reimagined
A poorly executed BBQ replacement can lead to a host of problems. Misaligned grills can cause uneven cooking, gas leaks, or even structural damage over time. By working with professionals like San Diego BBQ, you’re investing in peace of mind. Our expertise ensures your grill is installed correctly, safely, and with a focus on long-term performance.
Whether you’re upgrading your current grill or starting from scratch, we’ll get the job done right the first time and leave you eagerly awaiting your next neighborhood cookout. Visit our Carlsbad showroom or contact us to schedule your installation. Your dream grill is just a call away – let’s make it happen!


